At a recent meeting at the Computer Science club, I was approached by a freshman student who was seeking advice on how to properly use version control and what are the benefits. This wasn’t the first time someone approached me or asked about Git and Git Hub in my time at school. I decided then to create a tutorial of some sort to help those who are still confused about this very important tool.
The first question I always have to answer is: What is Git?
In simple terms, Git is a version control system that tracks changes in your code. It allows multiple developers to work on the same project, merge changes, and resolve conflicts in the code. Since every user has a complete copy of the project history, it makes it possible to work offline and integrate changes later.
You cannot talk about Git without talking about GitHub. But what is GitHub?
Well, GitHub is a cloud-based hosting service for Git repositories. It provides a central place to store your projects and collaborate with others. GitHub also has a range of features that enhance Git’s functionality, such as pull requests, issues, and project boards.
The first step to using Git is to install it on your computer. You can find the newest version in this link for Windows PCs or use the terminal for MacOS and Linux.
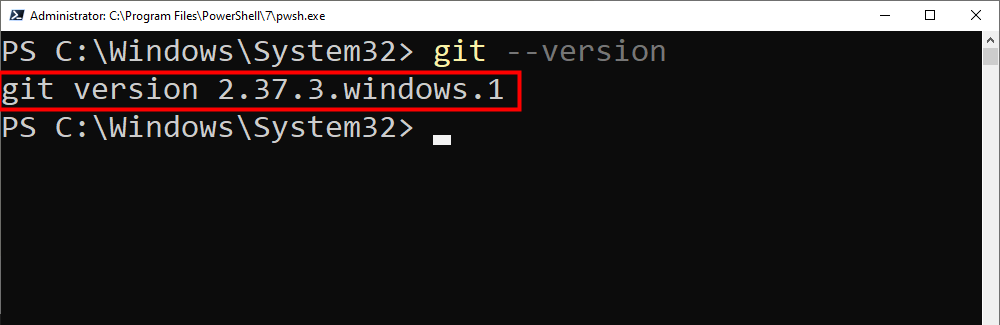
To verify if Git was installed correctly, you can use the following command:
git --version
If the installation was successful, you should see an output similar to this one:
Now, let’s see what we can do with Git.
You can configure your git name and add your email by using the following commands:
git config --global user.name "Your name goes here"
git config -- global user.email "you.email@example.com"
To initialize a new Git repository in your project folder, run:
git init
This will create a hidden .git directory that tracks changes in your project.
Once you’ve made changes to your files, you need to add them to the staging area. The stage is a special place where your files are kept until you are ready to commit. One of the advantages of staging is that you can replace the staged file with another edited version or even remove changes from staging. The command to stage your edited files is:
git add file.txt
But if you want to stage all files you’ve made changes, just use
git add .
Now, everything is ready to commit. Before you commit though, it’s common practice to add a commit message explaining what you did. For example, let’s say you added a new feature that checks how long the user was online. You could write something like this:
git commit -m "Add feature to track user online duration"
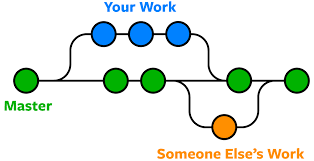
In other words, commits are snapshots of your project at a given time. It’s a good practice to write meaningful commit messages that explain why you made the changes.
So the workflow would look like the picture below:

Now, after you’ve modified some of the files in your project, you might have some that are staged, others that haven’t been committed yet, or some that have been modified. By using the following command you can see in your terminal the status of each file.
git status
So far, all your commits and modified files are stored in your local computer, but when working with others, you need to push your code to a remote repository with the main code branch.
git push origin main
It’s important to note that in the code snipped above, we are pushing to the main branch, but other repositories or projects, may use another name for the branch such as master. Those are the two common branch names.
Also, before I forget to mention, a branch is like a separate workspace where you can work on new features, fixes, or experiments without affecting the main project. It’s just like a parallel universe.
Now, let’s say that someone else made changes to the repository and pushed them to GitHub, to pull those changes into your local repository, you just need to use the following command:
git pull origin main
This way, your computer downloads the latest changes and merges them with your local work.
Now, one last command before we wrap it up. Let’s say I want to create a branch to work on this open-source repository on GitHub. Let’s call it gabriel-work.
git branch gabriel-work
Now, let’s say that after working on my feature on my branch, I want to switch back to the main branch before submitting my code, I would run the following code:
git checkout main
This allows me to return to the main codebase, where I can review my changes or prepare to merge my feature branch.
These are the very basic commands of Git and Github, but mastering these commands will make your collab projects, workspace, or even your open-source contribution much easier. As you become more comfortable with these commands, you can dive into the more advanced concepts and strategies to enhance your workflow even more.

Leave a comment